How to Fix Error 0x80070490 | Windows 10
Downloading and installing the latest Windows Updates is important to keep the Windows 10 operating system running safely and fast. While downloading Windows Update some users have reported error code 0x80070490 on Windows 10. This error usually occurs when Windows Update stops running, and then users get error code 0x80070490. This can be a frustrating problem because Windows updates won’t download and one will be missing new features and security patches.
Table of Contents
How to fix the error code 0x80070490 on Windows 10
- Run the Update Troubleshooter
- Run the SFC scan
- Run DISM
- Check for viruses
- Disable antivirus
- Delete user ID store cache from the registry
- Check if the services of BITS, Cryptographic, MSI Installer, and the Windows Update are running
- Delete SoftwareDistribution folder
Run the Update Troubleshooter
On Windows 10 OS use the new troubleshooting tool which is called Windows Troubleshooter. This tool can be used to fix various system problems, including issues related to Windows update.
To run this troubleshooter in Windows 10:
- Press the Windows Button from your keyboard and Go to the Settings option from the left-hand sidebar.
- Select the “Update & Security” option from the Window opened in front of you.
- Select the “Troubleshoot” option from the left-hand side panel.
- Find the “Windows Update” option and then click on “Run the troubleshooter”.
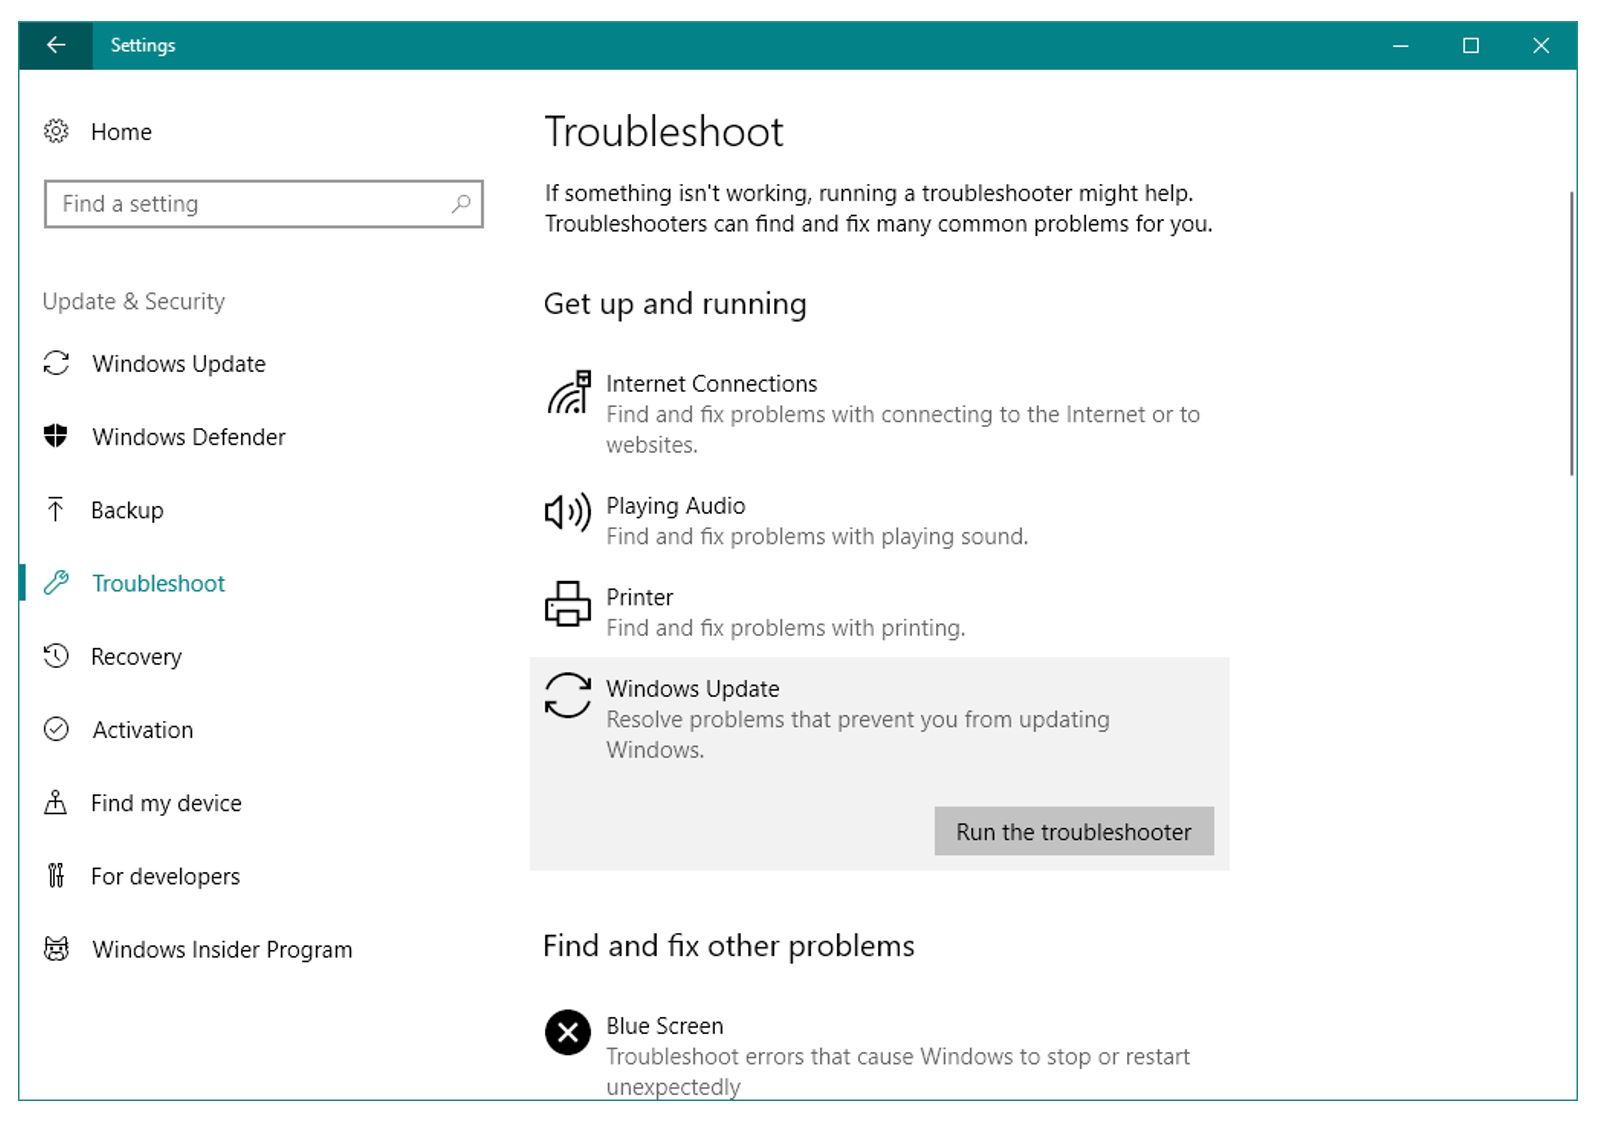
- Follow the instructions provided on-screen.
- Once the process is completed restart the system.
Check Windows Update once again to see if the issue is fixed or not.
Run the SFC scan
SFC scan is a built-in troubleshooter designed for resolving various system problems that can be used through a command prompt. To do that just follow these instructions:
- Go to the Windows search bar and type “cmd”, right-click on the command prompt icon, and open it as Administrator.
- Type or copy and paste the following command and press Enter:
sfc/scannow
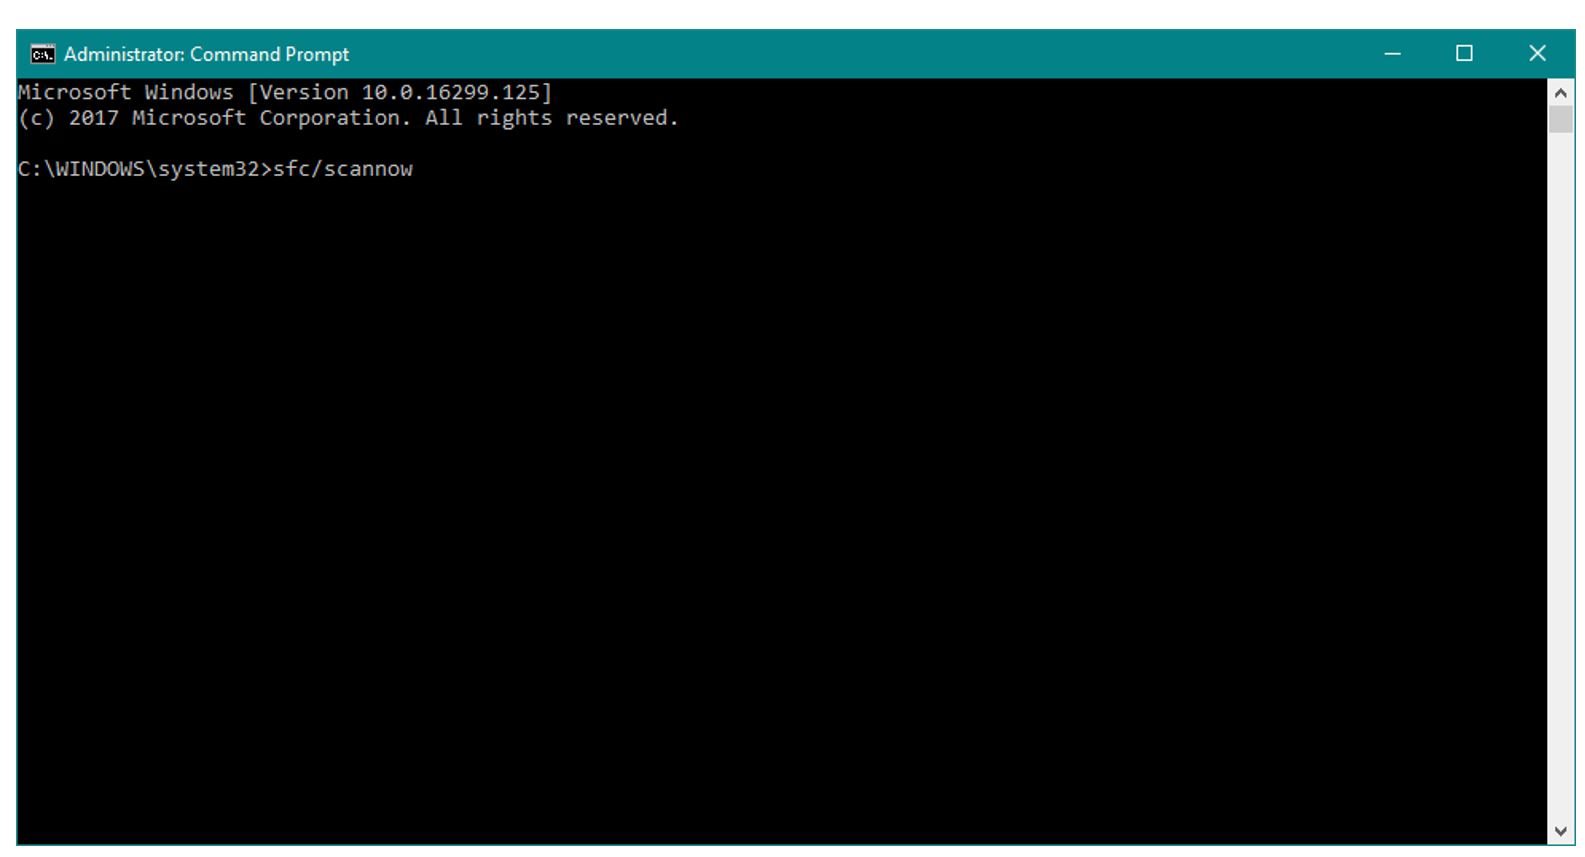
- Wait for the process to finish as it will take some time to complete.
- Once the process is completed restart the system.
Check to see if the process has fixed the issue or not.
Run DISM
Deployment Image & Servicing Management (DISM) is another troubleshooting tool in Windows 10 to run DISM, just follow the instructions below :
- Go to the Windows search bar and type “cmd”, right-click on the command prompt icon, and open it as Administrator.
- Type or copy and paste the following command on the command line:
DISM.exe /Online /Cleanup-image /Restorehealth
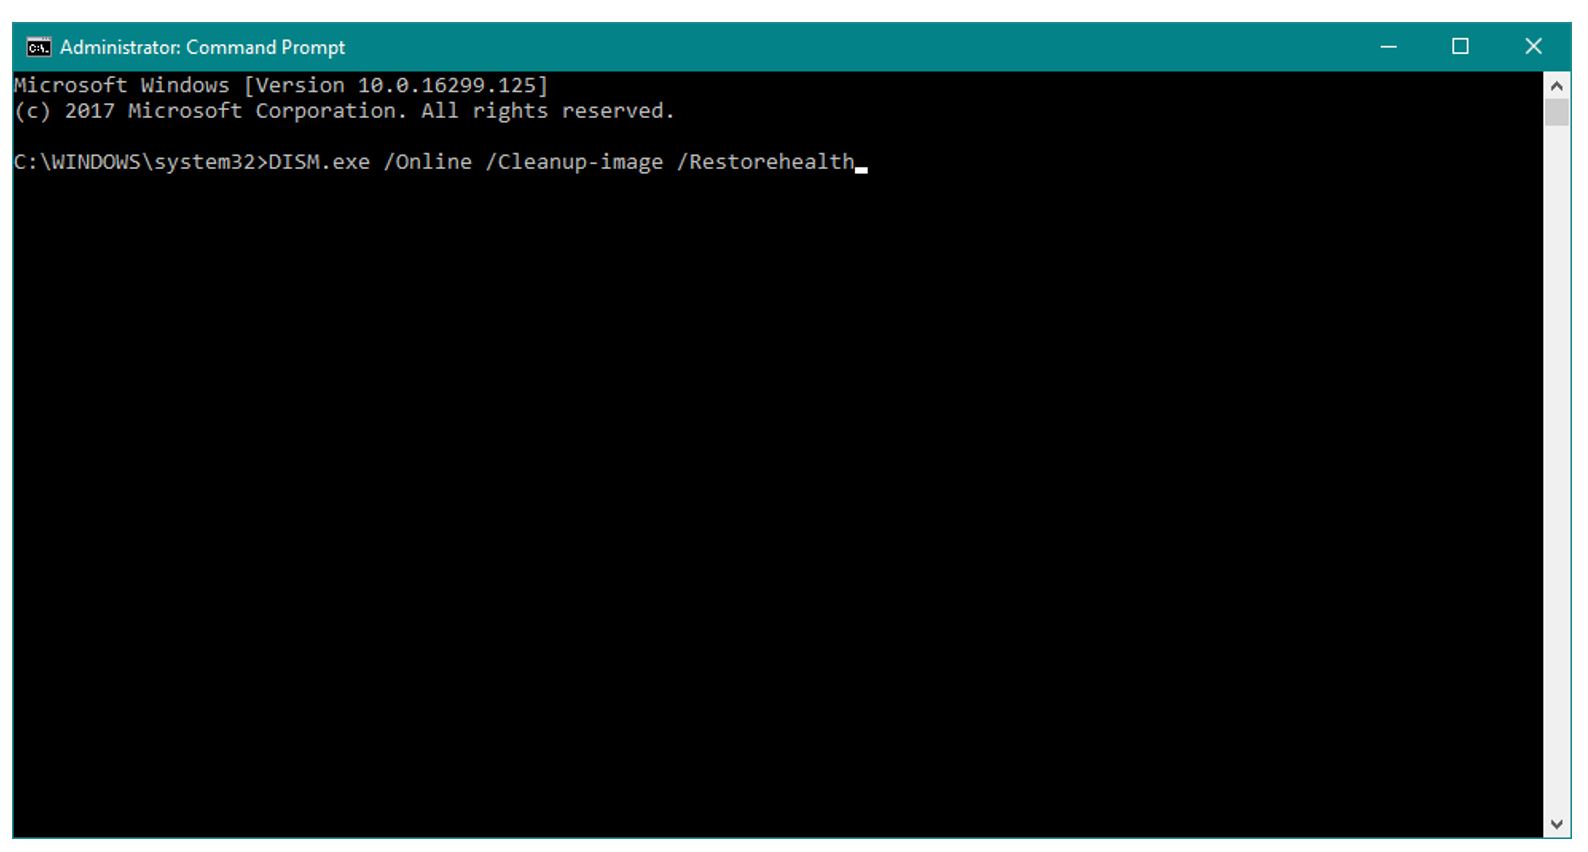
- If DISM is unable to obtain files online, try using an installation USB or DVD. Insert media and type the following command:
DISM.exe /Online /Cleanup-Image /RestoreHealth /Source:C:RepairSourceWindows /LimitAccess. Replace ”C:RepairSourceWindows” path of the DVD or USB.
Check for viruses
The error 0x80070490 can be due to a virus or any other kind of malware. So scan the system for viruses. Once the system is virus-free, this problem may disappear, as well. To run the scan on the system in Windows 10
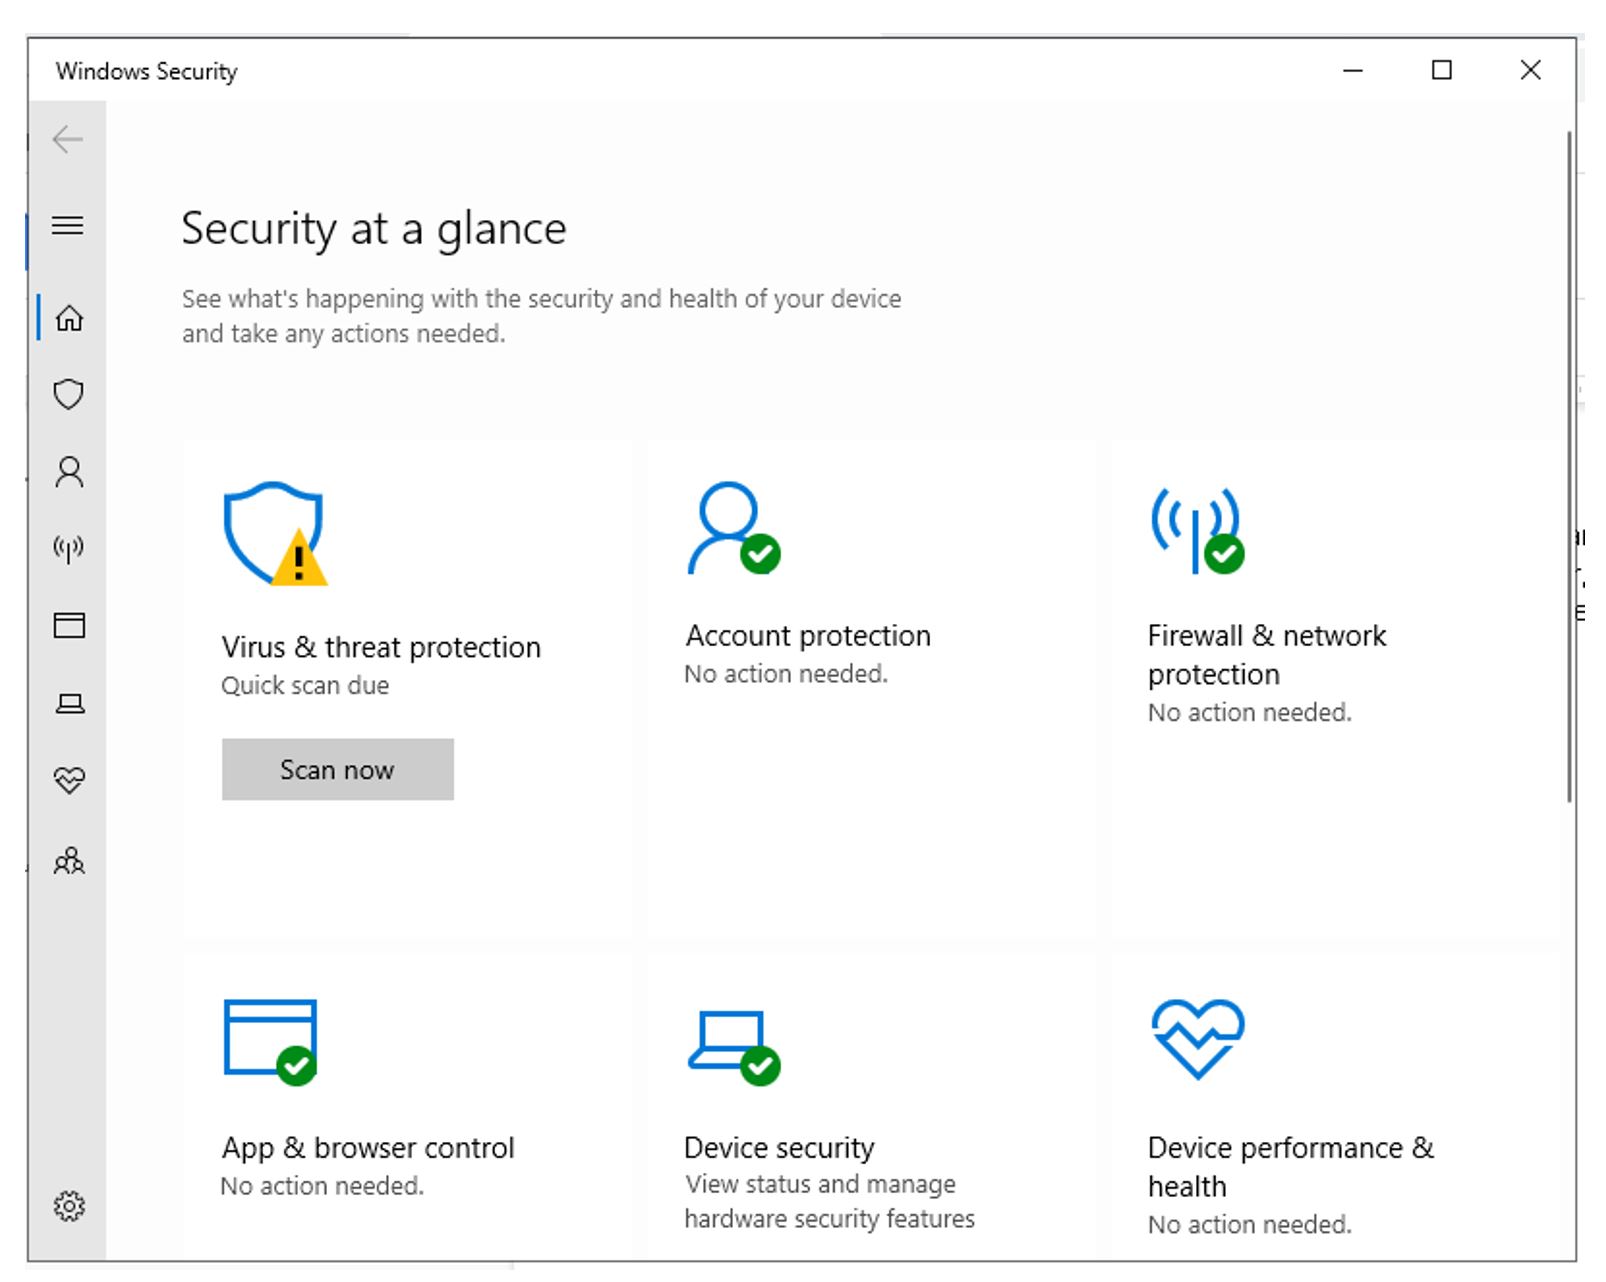
- Type “Windows Security” in the search bar and open it up.
- Click on the option of “Scan Now” to initiate the scan of the system.
Disable antivirus
On the contrary to the previous solution, there can be a chance that any third-party antivirus is what is giving the error. There are known issues between antivirus programs and Windows updates for not getting along with each other. To check simply disable your antivirus, and start the updates. If no error comes up make sure that the antivirus is updated.
Delete user ID store cache from the registry
The stored cache of user ID can be one of the issues to generate this error. To fix the issue follow these steps:
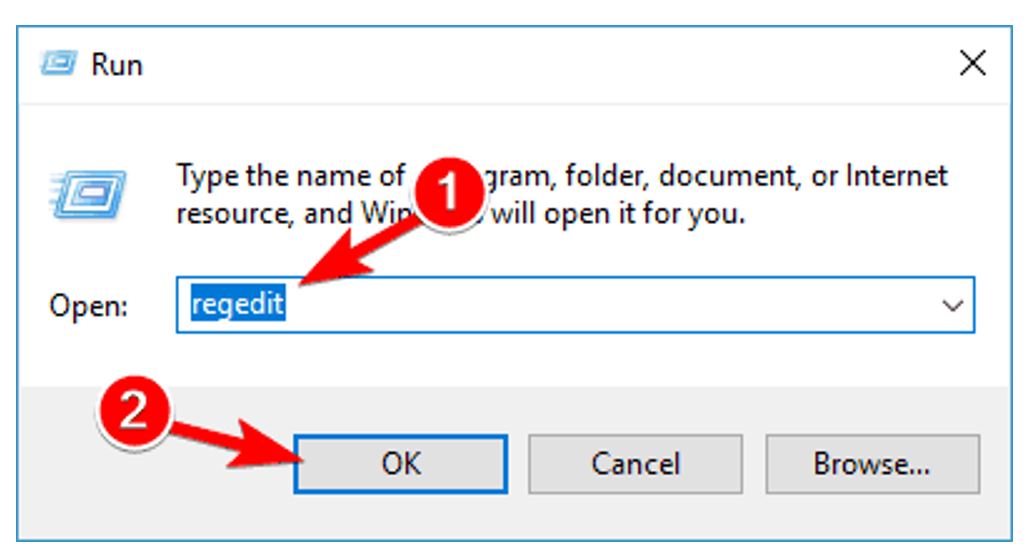
- To open the Registry Editor Press Windows and R keys from your keyboard and type “Regedit”.
- Press Enter or click OK to open the Registry Editor.
- In Registry Editor navigate to the following key from the left-hand side panel:
- HKEY_LOCAL_MACHINE
- SOFTWARE
- Microsoft
- WindowsCurrentVersion
- AppxAppxAllUserStore
- Select all these keys and delete them.
- Once done, close Registry Editor and restart your computer.
Check if the services of BITS, Cryptographic, MSI Installer, and the Windows Update are running
To check if the services i.e. BITS, Cryptographic, MSI Installer, and the Windows Update Services are running.
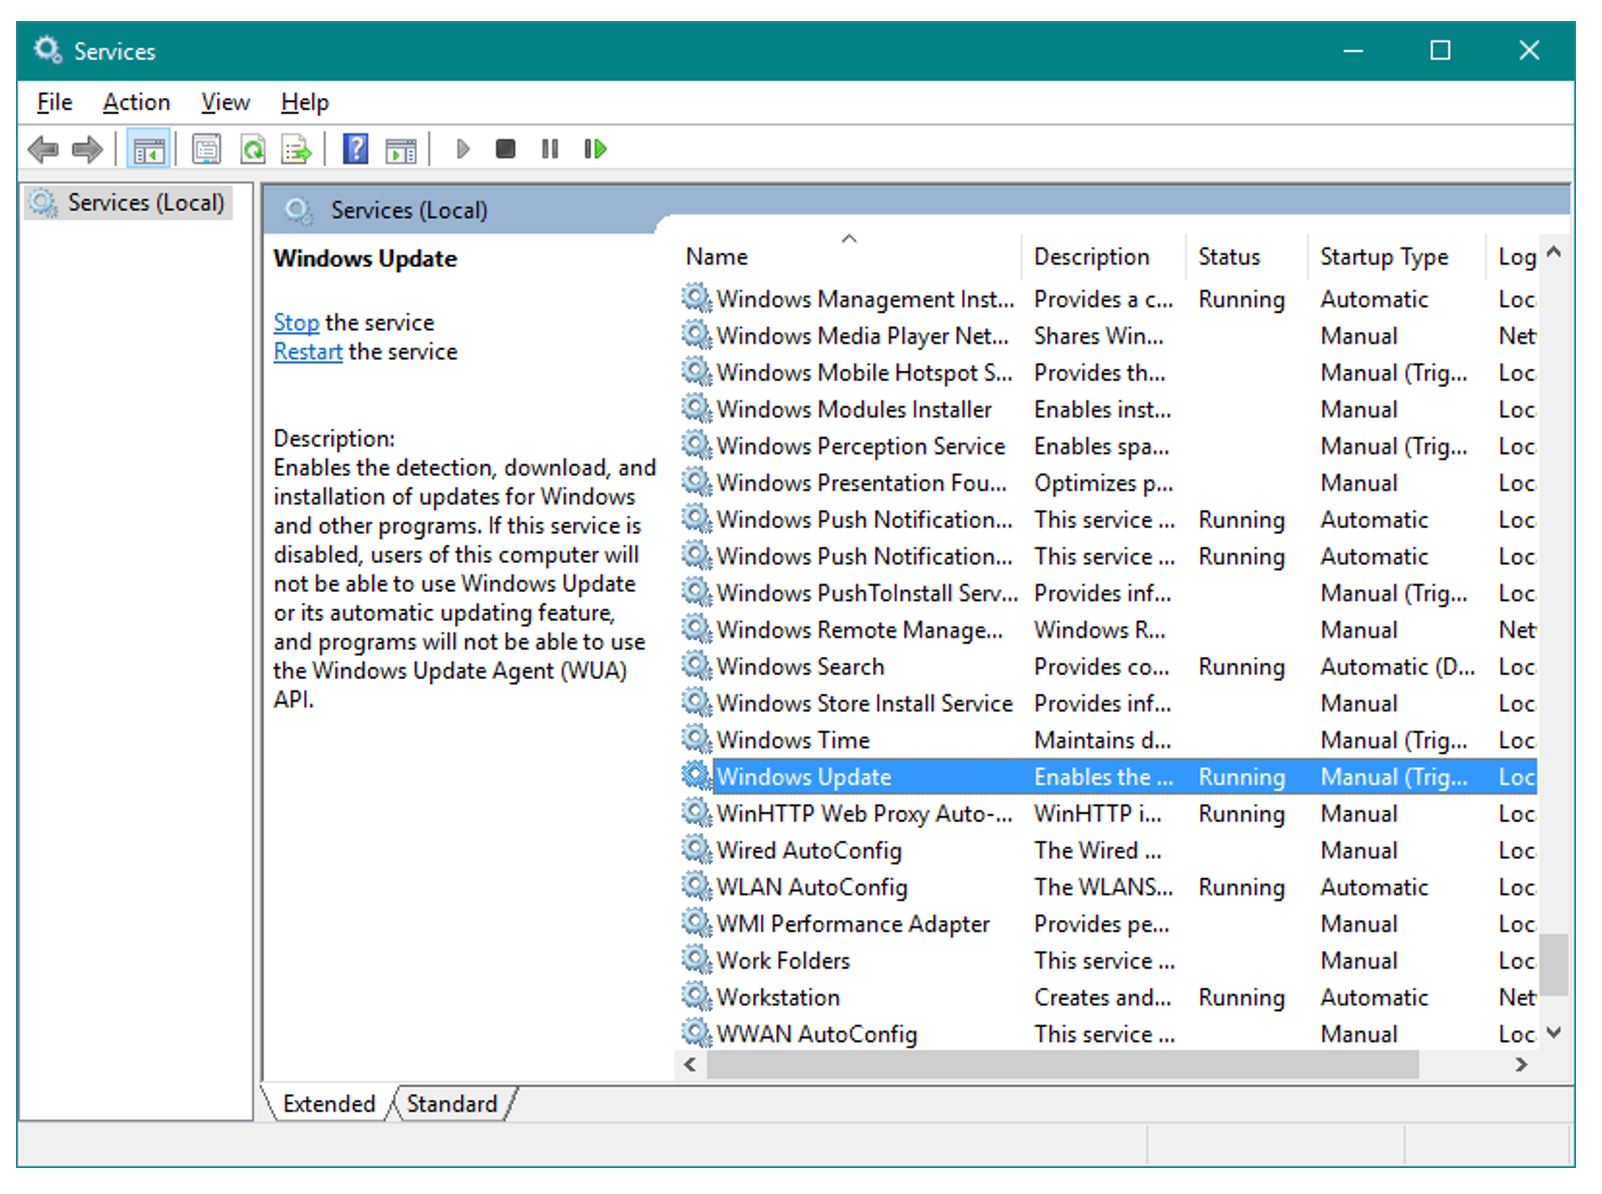
- Press Windows and R keys at the same time and then type “services.msc” in the windows opened in front of you
- In the Services window find the services:
- BITS,
- Cryptographic,
- MSI Installer,
- Windows Update Services.
- Make sure that the mentioned services are running and in case one of the services is not running make sure to start them by selecting the service and clicking Start the service.
Delete SoftwareDistribution folder
The SoftwareDistribution folder stores all update data, so if something inside this folder gets corrupted can give you issues while updating.
To delete this folder, first, disable the Windows Update service. To do so:
- In the Search bar type “services.msc” and go to Services.
- Search for “Windows Update” service.
- Right-click on the Service and go to Properties, then select Disable.
- Once done restart your computer.
Once the Windows Update service is disabled go to delete (rename) the SoftwareDistribution folder:
- Navigate to C Drive and locate the “Windows” folder and search the “SoftwareDistribution” folder.
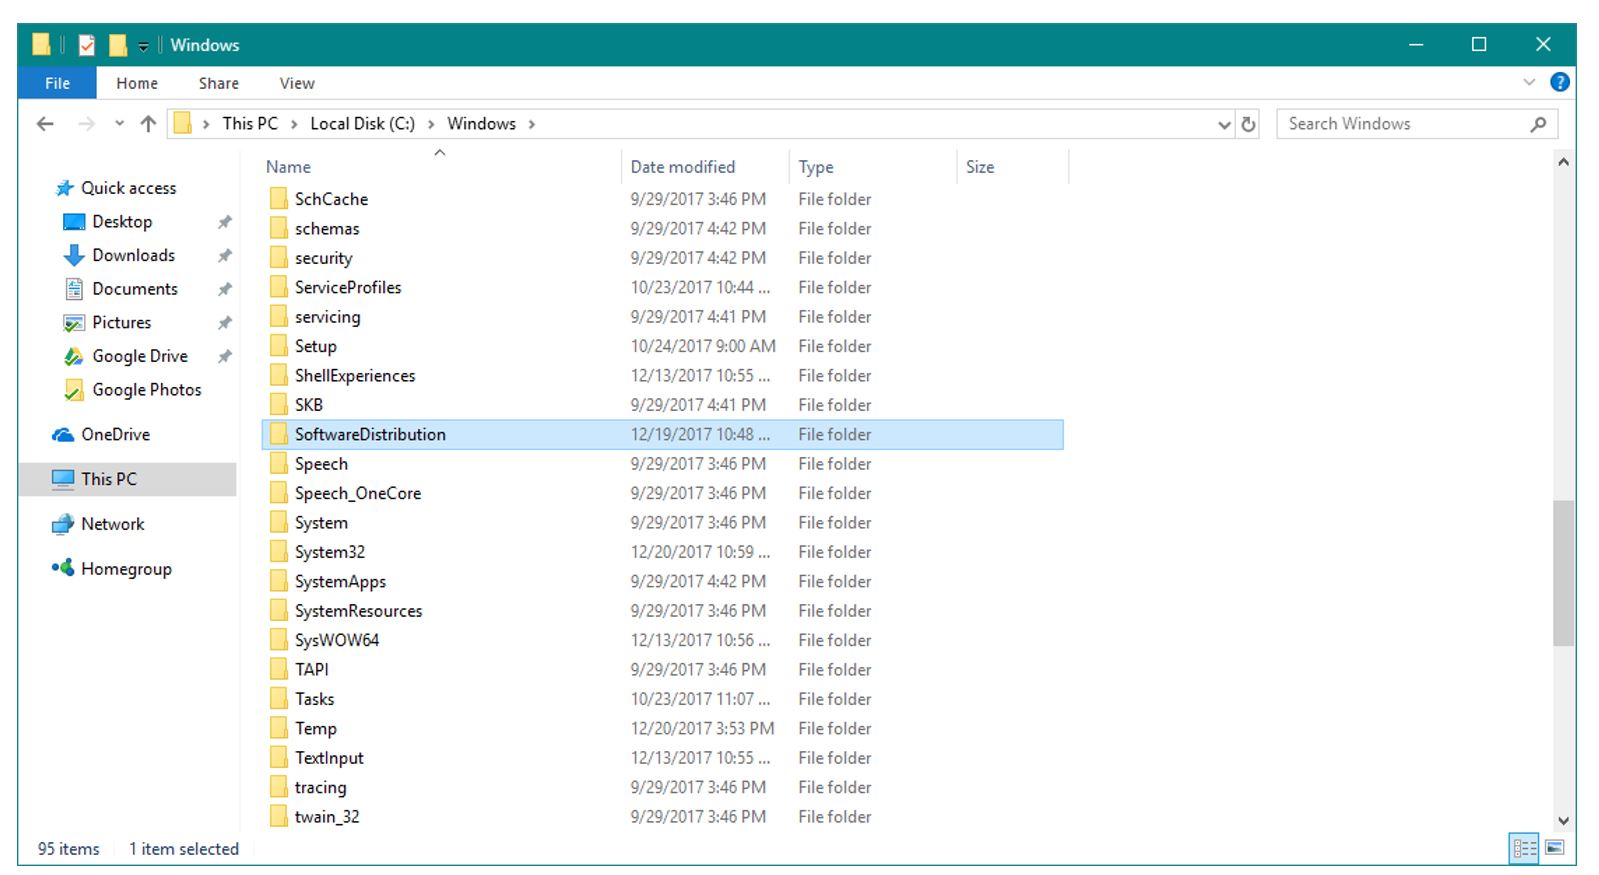
- Rename the folder to SoftwareDistribution.OLD (it’s safer to just leave it there).
- Restart your computer.
After restarting the computer go to Services and re-enable the Windows Update Service:
- Go to Services again and find Windows Update and, in Properties, change from Disabled to Manual.
- Restart your computer once again.
Check for the Windows updates after restarting the computer.


Comments are closed.